Creating your own custom curtains can be a rewarding home improvement project. Not only does it give you more control over the look and fit of your window coverings, but it also allows you to tailor fabrics, lengths, and styles to suit your home. While custom-made curtains are often associated with professional services, many homeowners are surprised to learn how achievable a DIY approach can be.
At Aussie Home Improvement, we believe understanding the process helps you make better decisions—whether you’re sewing curtains from scratch or preparing custom measurements before ordering. This guide walks you through the key steps involved in creating custom curtains for your home, from planning and measuring to hanging the finished result.
Why Choose Custom Curtains?
Standard, off-the-shelf curtains don’t always suit every window. Australian homes often feature wide sliding doors, tall ceilings, or non-standard window sizes, making custom curtains a practical option.
Custom curtains allow you to:
- Achieve a precise fit for your windows
- Choose fabrics that suit your climate and lifestyle
- Control light, privacy, and insulation more effectively
- Match curtains to your interior style rather than adapting the room to the curtains
Whether you’re working on a single room or refreshing the whole house, custom curtains offer flexibility that ready-made options often can’t.
Step 1: Decide on the Curtain Style
Before measuring or selecting fabric, it’s important to decide on the curtain style that best suits your space.
Some common styles include:
- Pencil pleat curtains – classic and versatile
- Eyelet curtains – modern and easy to slide
- Wave curtains – structured and contemporary
- Pinch pleat curtains – formal and tailored
Your choice may depend on whether you’re using a curtain track or curtain rod, the room’s design, and how much fullness you prefer. Providers such as The Curtain Lab outline different curtain styles and how they work with various hanging systems, which can be helpful when planning.
Step 2: Choose the Right Fabric
Fabric selection plays a major role in how your curtains look and function.
When choosing fabric, consider:
- Light control – sheer fabrics filter light, while blockout fabrics reduce glare and improve privacy
- Insulation – heavier fabrics can help regulate indoor temperatures
- Maintenance – some fabrics are easier to clean and maintain than others
- Room use – bedrooms, living rooms, and dining spaces often require different levels of privacy and light
For Australian homes, it’s also worth considering how the fabric handles heat and sunlight, especially in north-facing rooms.
Step 3: Measure Your Windows Correctly
Accurate measurements are essential for custom curtains. Mistakes at this stage can affect how the curtains hang and function.
Measuring the Width
Measure the full width of your curtain track or rod, not the window frame. For most curtain styles, you’ll need fabric that’s:
- 2 to 2.5 times the width of the track for a full look
- Slightly less for styles like wave curtains, depending on the system used
Measuring the Drop
Decide where you want the curtains to finish:
- At the window sill
- Below the sill
- Just touching the floor
- Slightly pooling on the floor
Measure from the top of the track or rod to your chosen end point, and double-check your measurements before cutting or ordering fabric.
Step 4: Plan the Curtain Heading
The heading is the top section of the curtain that attaches to hooks, rings, or gliders. This part affects both appearance and installation.
Common heading options include:
- Pencil pleat tape
- Eyelet rings
- Wave tape
- Pinch pleat tape
If you’re sewing curtains yourself, ensure the heading tape is sewn straight and securely. If you’re ordering made-to-measure curtains, understanding the heading style helps ensure compatibility with your track or rod.
Step 5: Sewing Your Custom Curtains (Optional)
If you’re confident with basic sewing skills, making your own curtains can be achievable.
Key steps include:
- Cutting fabric accurately, allowing for hems and headings
- Sewing side hems evenly to prevent fabric pulling
- Attaching heading tape securely
- Pressing seams as you go for a clean finish
For beginners, starting with a simple curtain style such as pencil pleats is often easier than more structured headings.
Step 6: Install the Curtain Track or Rod
Before hanging your curtains, ensure the curtain track or rod is installed correctly.
Check that:
- The track or rod is level
- Fixings are secure and suitable for the wall type
- There is enough clearance for the curtains to hang freely
Incorrect installation can cause curtains to drag, bunch, or sit unevenly, regardless of how well they’re made.
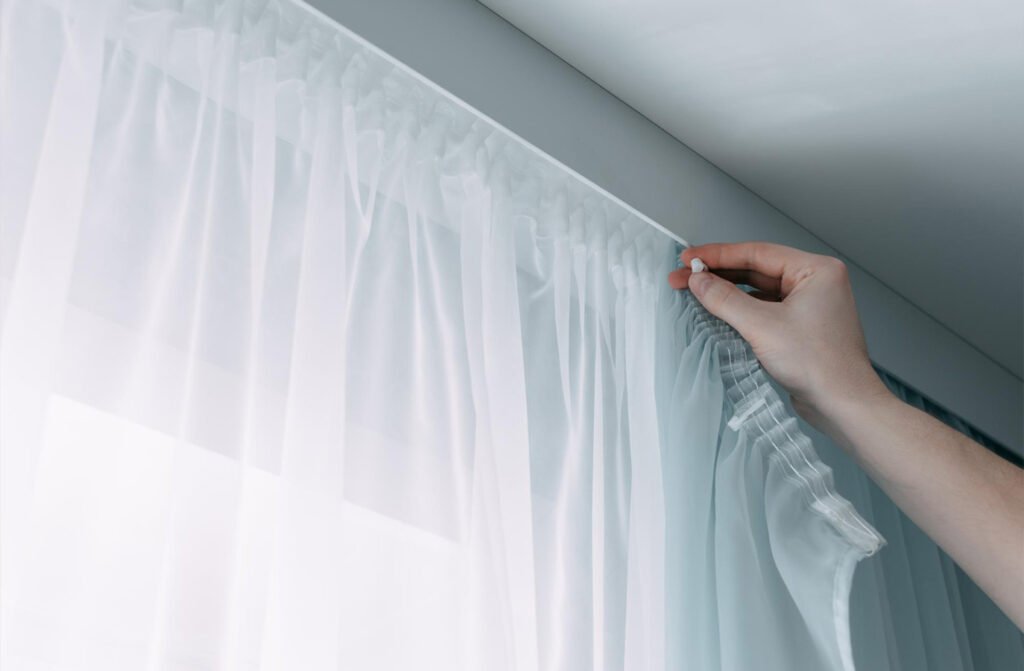
Step 7: Hang and Adjust the Curtains
Once the curtains are ready, hang them carefully and evenly.
For best results:
- Space curtain hooks evenly
- Start hanging from one end and work across
- Step back regularly to check alignment
After hanging, gently adjust the pleats or folds by hand. Curtains often need time to settle, so it’s best to make final adjustments after they’ve been hanging for a day or two.
Common DIY Curtain Mistakes to Avoid
Even experienced DIYers can run into issues. Common mistakes include:
- Measuring the window instead of the track or rod
- Not allowing enough fabric for fullness
- Uneven hems causing curtains to hang crooked
- Using incompatible heading styles with existing hardware
Taking your time and double-checking each step can help prevent these problems.
DIY vs Made-to-Measure Curtains
While fully DIY curtains suit some homeowners, others prefer a hybrid approach—measuring themselves but ordering professionally made curtains.
This option:
- Reduces sewing complexity
- Still allows for custom sizing and fabric choice
- Works well for large or hard-to-sew windows
Suppliers like The Curtain Lab offer made-to-measure solutions that align with accurate DIY measurements, which can suit homeowners who want custom results without handling the sewing process.
Final Thoughts for Homeowners
Creating custom curtains for your home doesn’t have to be overwhelming. With careful planning, accurate measurements, and a clear understanding of curtain styles and fabrics, it’s a project that many homeowners can tackle confidently.
At Aussie Home Improvement, our goal is to help you approach home projects with clarity and confidence. Whether you’re sewing curtains yourself or preparing custom specifications for providers like The Curtain Lab, understanding the process ensures better results and fewer surprises.
Custom curtains, when done well, can improve comfort, privacy, and the overall feel of your home—making the effort well worth it.